
TOTTENHAM 3:4 CHELSEA Tactical Analysis & Match Report On a night that threatened to slip away from Chelsea, they staged an ice-cold comeback to turn the tide. Despite a few nervy moments late on, Enzo Maresca's side held firm to claim another three points in the derby. In-depth tactical analysis thread

A London Derby between fierce rivals Chelsea and Spurs are always bound to entertain. This match delivered another classic match. In a rollercoaster game filled with an abundance of errors and goals, Enzo Maresca's Chelsea rose victories at the final whistle. In this thread, I will analyse all the tactical elements in a comprehensive break down of the match. Let's dive in.

Let's start with Spurs out-of-possession (OOP). As many PL fans are aware, Spurs adopt an approach. In the opposition's attacking third, they initially have a zonal approach where they press with a -1, which can transition to a man-to-man (m2m). However, in the middle third, they're always looking to jump from their mid-block (with no definitive structure) to a m2m.

This pays off in the opening 5'. Cucurella tries to receive a backward pass from Colwill, but a slip turns over possession to Johnson - eventually capitalized by Solanke who scores.
In the attacking third, Spurs, as mentioned, press with a -1 as Solanke looks to curve his run to shadow mark a Chelsea CB. Here, the Spurs RW, Johnson has dual responsibilities - pressing the Chelsea CB that Solanke has shadow marked (if Colwill is found) whilst shadow marking the Chelsea LB (Cucurella) or just pressing the latter. Since Sanchez is involving himself, Solanke will also press the Chelsea GK whilst Son supports him to press Badiashile. (On a side note - Spurs usually tried to funnel their press toward Badiashile who is left-footed but playing down the right).

I like Chelsea's structure here by having the GK deep and pushing the Chelsea RB (Caicedo) into midfield. This helps them to get a 4-2 build-up structure whilst having an extra man at the top, which we'll come to.

The drawback of Spurs' system and upside of Chelsea's is that there's always a free man between the lines. If you look at how the above move plays out, when Johnson (who has dual responsibilities) comes out to press, he leaves Cucurella vacant. Furthermore, Enzo is free because of a few reasons: - Bissouma man-marks Palmer who drags him out, leaving space in the center. - The Spurs CBs are too late/hesitant to step out and close him down to not compromise the backline shape. Therefore, Chelsea have an overload in the first phase (6v5 including the Chelsea GK) whilst having a 5v5 in against the Spurs backline. And plenty of space between the lines.


However, for Chelsea, when they weren't able to involve the GK in the play, it was a 5v5 in the build-up phase. From here, Chelsea struggled to break Spurs. If you keep a close eye on the lead up to the second Spurs goal, you'll notice this.
A get out of jail free card Chelsea could use here was a long ball into the channel. With Spurs adopting a high line, it could be played behind the defenders as well. Jackson would often drift to the left to receive in such instances.
And as mentioned, when Chelsea used the GK for the +1, they were more comfortable progressing the ball - both centrally and through the wings. Chelsea score their 1st goal from this as they used the initial +1 overload and then exploit the space.
Chelsea's high press involved having a -2 (including the Spurs GK) in the first phase - allowing a +1 in the backline for coverage. Thus, Jackson and Palmer would have dual responsibilities. One would shadow mark a Spurs CB to then press the GK - usually Jackson. Whereas the other would press the opposite Spurs CB and shadow mark the Spurs DM (Bissmouma) - often Palmer. Over the pitch, there'd be man-marking responsibilities. Colwill would be a free sweeper - Chelsea's +1. Sometimes, though, Chelsea did use a -1 frontline press (inclduing the Spurs GK) and go m2m everywhere else on the pitch.


At times when the frontline press was a step behind, Spurs could use their rotations and movement to hurt Chelsea - like they did here with Son coming close. No pressure on the opp. + high line is a bad idea. City fans would especially know.
In the middle third, where Spurs would struggle was when they'd try to transition from a mid-block to a m2m - what I talked about earlier. Here's an example to demonstrate it: Spurs step out of their block in the mid-third and try to press Chelsea m2m. However, a disconnect between the frontline and the Spurs backline leaves huge space between the lines for Palmer and Enzo to exploit. Chelsea's DMs are also adept at playing under pressure and break out of it with the ball at their feet.


In the first half, there were plenty of transitional phases which could've turned to goals for either side. There's nothing tactical here really. Just two teams willing to go at each other when there's space to attack.
Maresca was unhappy with Chelsea's balance in the build-up phase so made a tactical adjustment at half-time - bringing on Gusto, a natural RB, for Lavia. Thus, we saw Caicedo play as the pivot in possession with Enzo whilst Cucurella advanced in the LHS. He has good chemistry with Sancho as we saw against Bournemouth as well. They combined to create a few chances early in the second half too. More importantly, it provided Chelsea better balance in build up as now Badiashile would operate down the left where he was more comfortable. In settled possession, Colwill would also occupy his preferred CCB spot. (@WhoScored)


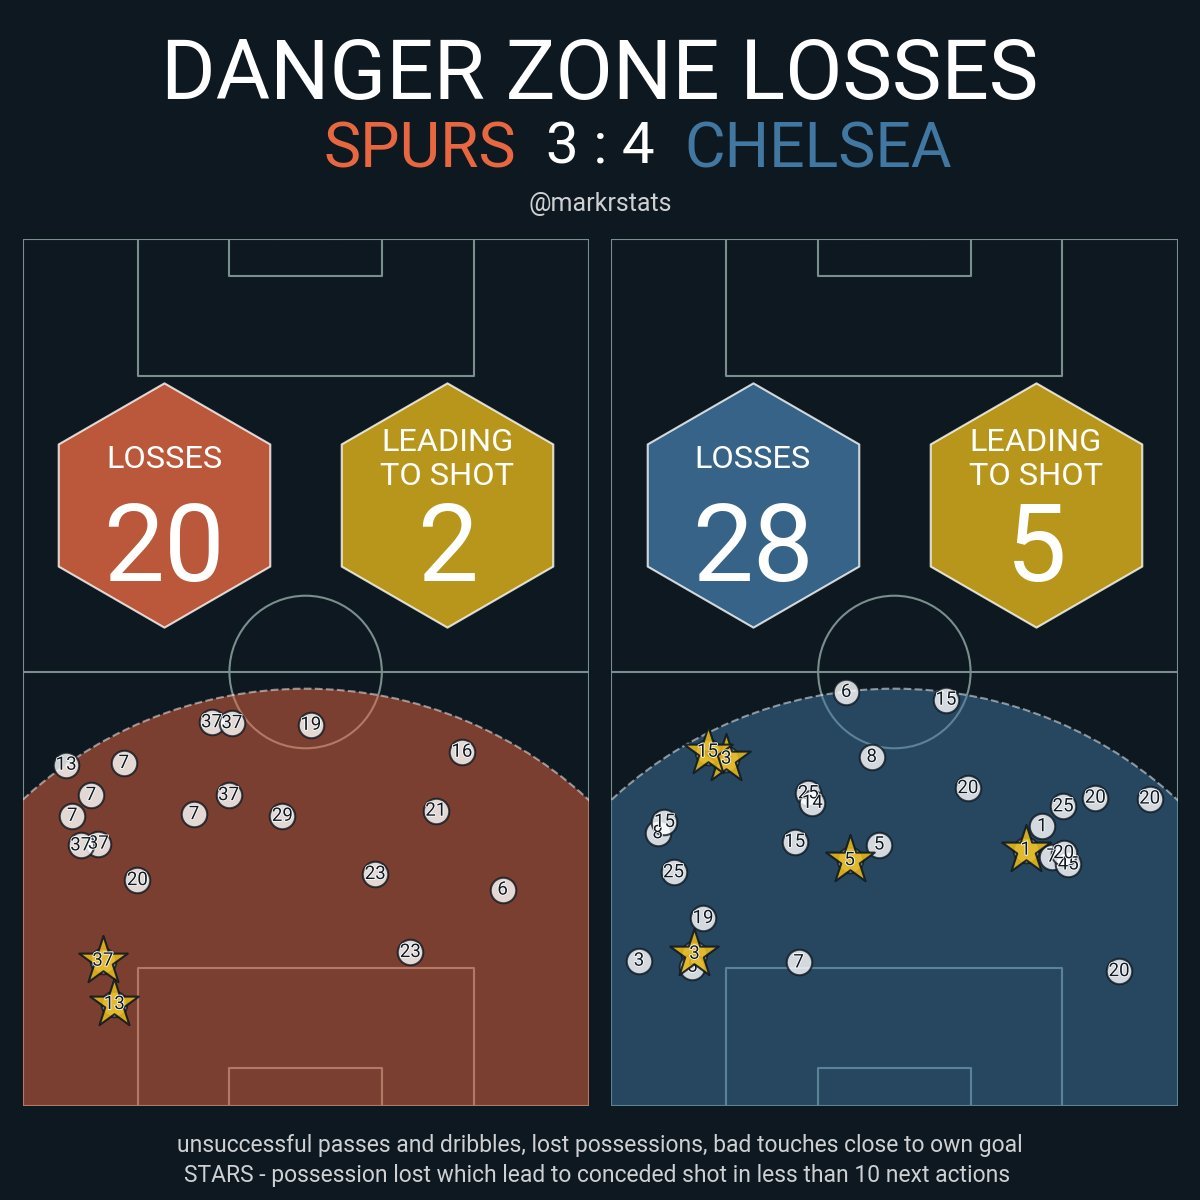
Chelsea also were pinning Spurs in a 4-5-1 OOP shape after scoring the first goal. However, there were plenty of possession turnovers and losses in the middle third especially for both teams to capitalize. (@markrstats)


Spurs had their moments of individual mistakes in the second half, giving two unnecessary penalties to Palmer, who created history after netting both - being the first player in the PL to score 12 penalties in a row.
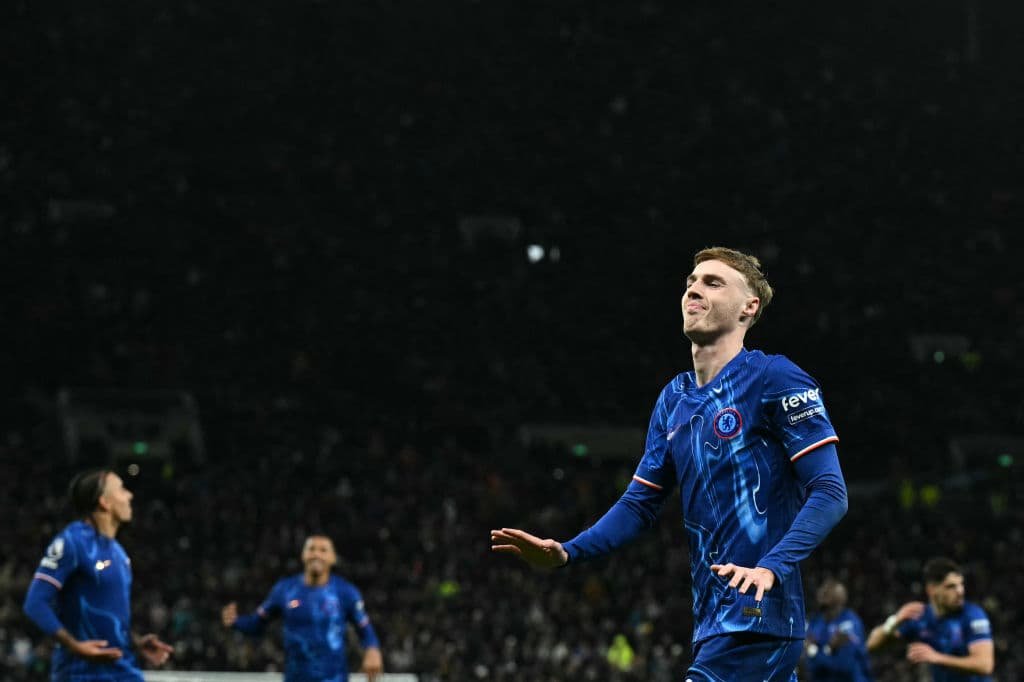
There was of course also the excellent Chelsea moved that ended with a goal for Enzo, who finished his chance expertly with his weaker foot. Class.
Spurs valiantly attempted to conjure a comeback at the end and scored a goal but ran out of time to get a fourth. Chelsea could've controlled the game better in the final periods of the match. (@markrstats)

Chelsea's hot form continued as they lit up North London. Although Liverpool have a game in hand (against Everton), Chelsea are just 4 points off the top spot. The manager, players, and some fans (including myself) have disregarded any title shouts. But if this form continues and the competitors continue to drop off, we all might have to come into agreement soon that Chelsea are in the title race. Nonetheless, a solid away performance earned Maresca's team three points as they march on .

Follow me for more post-match analysis and other tactical threads. https://x.com/fahdahmed987/sta...