
Hello Everynyan~ I've seen over the years posts about not having what it takes to do gposing, be it skills, a powerful PC, they are on consoles or simply Anti modding. Today I'm going to give you some basic tips for you to kickstart your Gpose journey and have fun along the way

First let's deactivate all m*ds and Shaders oh whoops...
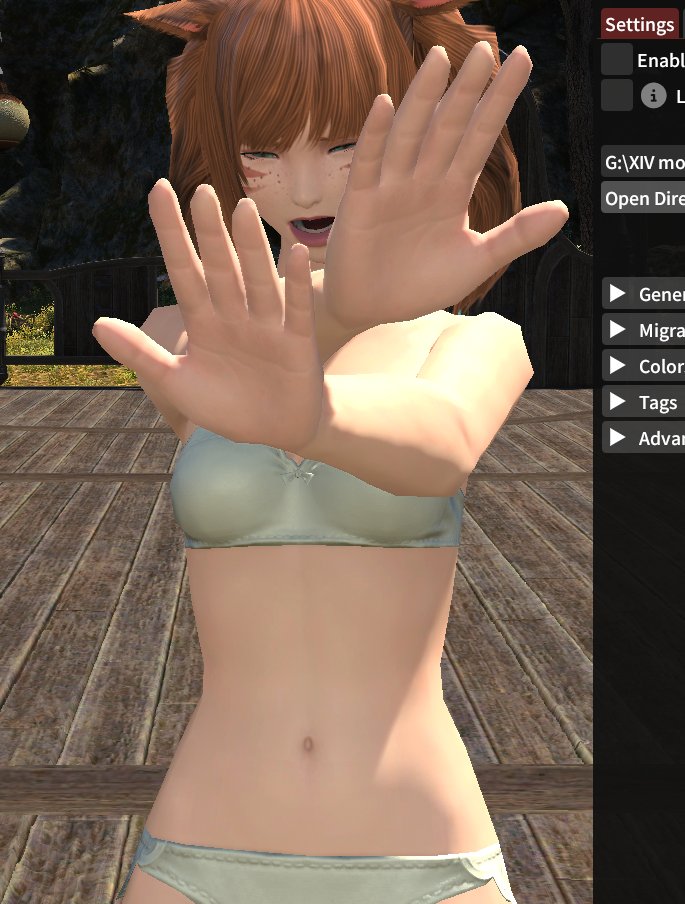
I'm sorry Tanzia don't get angry at me, didn't meant to strip you bare.

Ok first of all, we want to make our characters look the best we can, for that I'm gonna use one of my current vanilla glams, there all cute and chic!
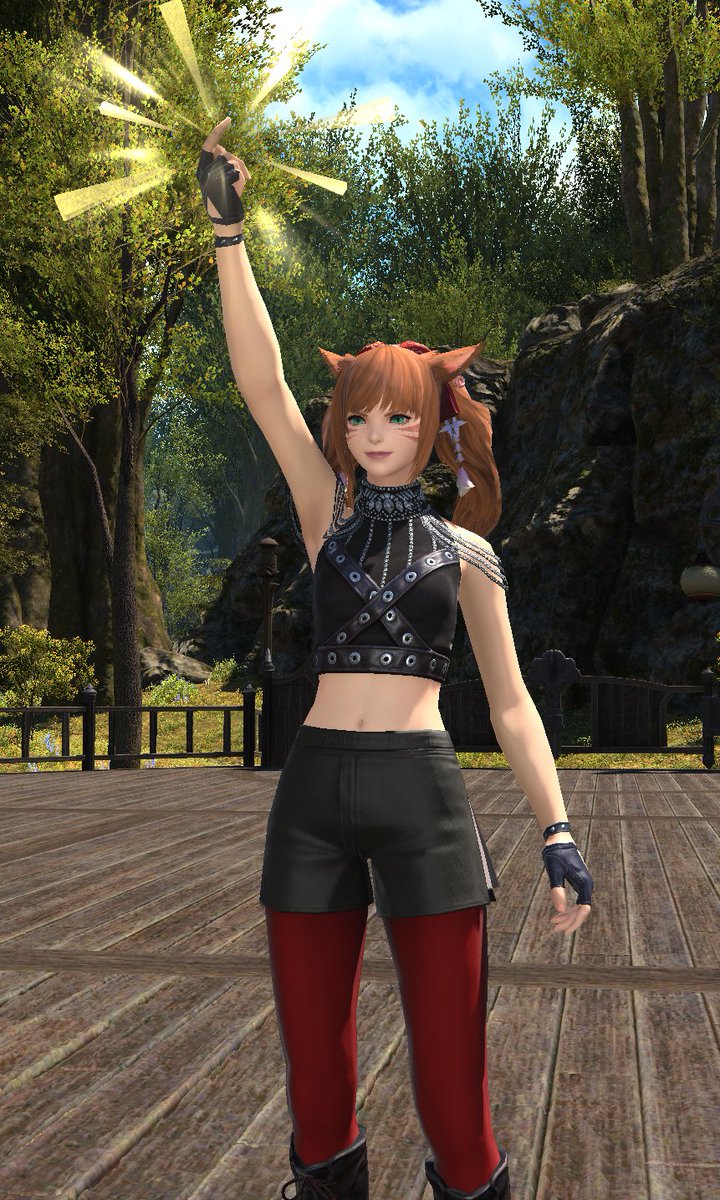
Next we are gonna choose a location, it can be anything even a white backdrop can work, since I'm already in Central Shroud I'll go wit this place just outside the city.
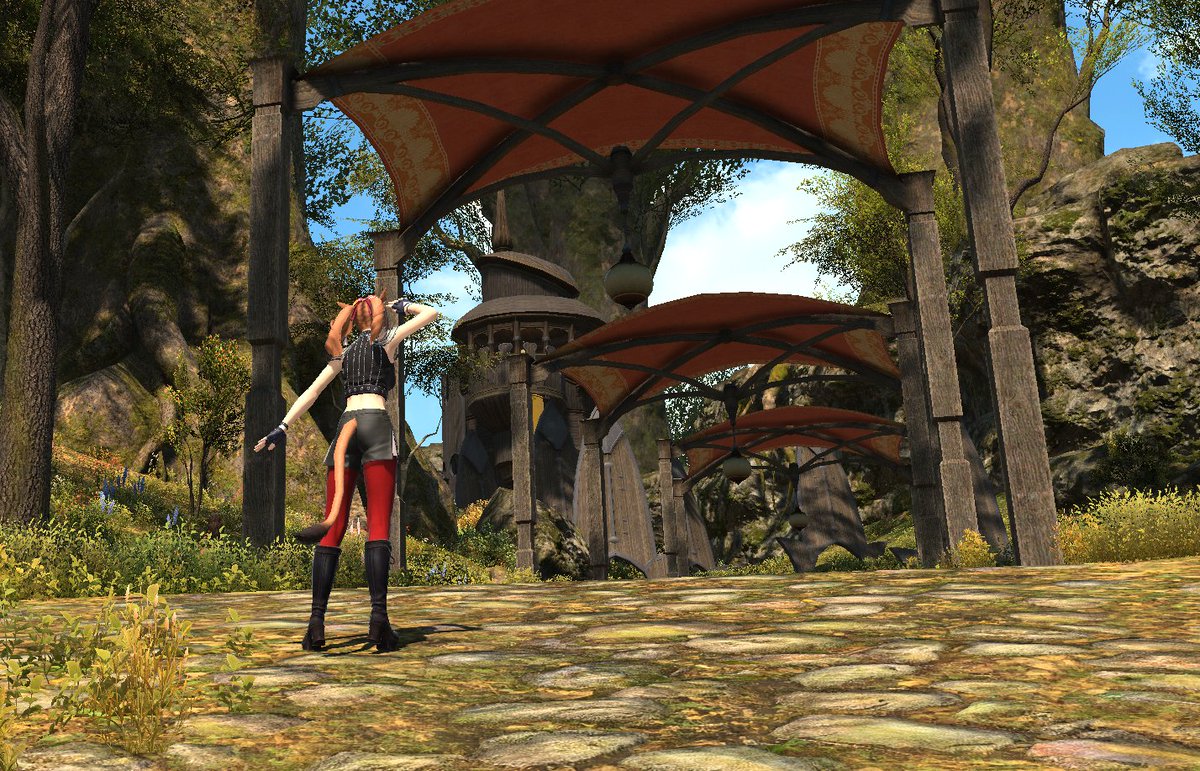
Next, you want to always reset your character, so type /sit and /sit again or just jump or walk to break out of the sitting animation. This ensures we don't start posing with the mounting/potion/attack animation we did last.

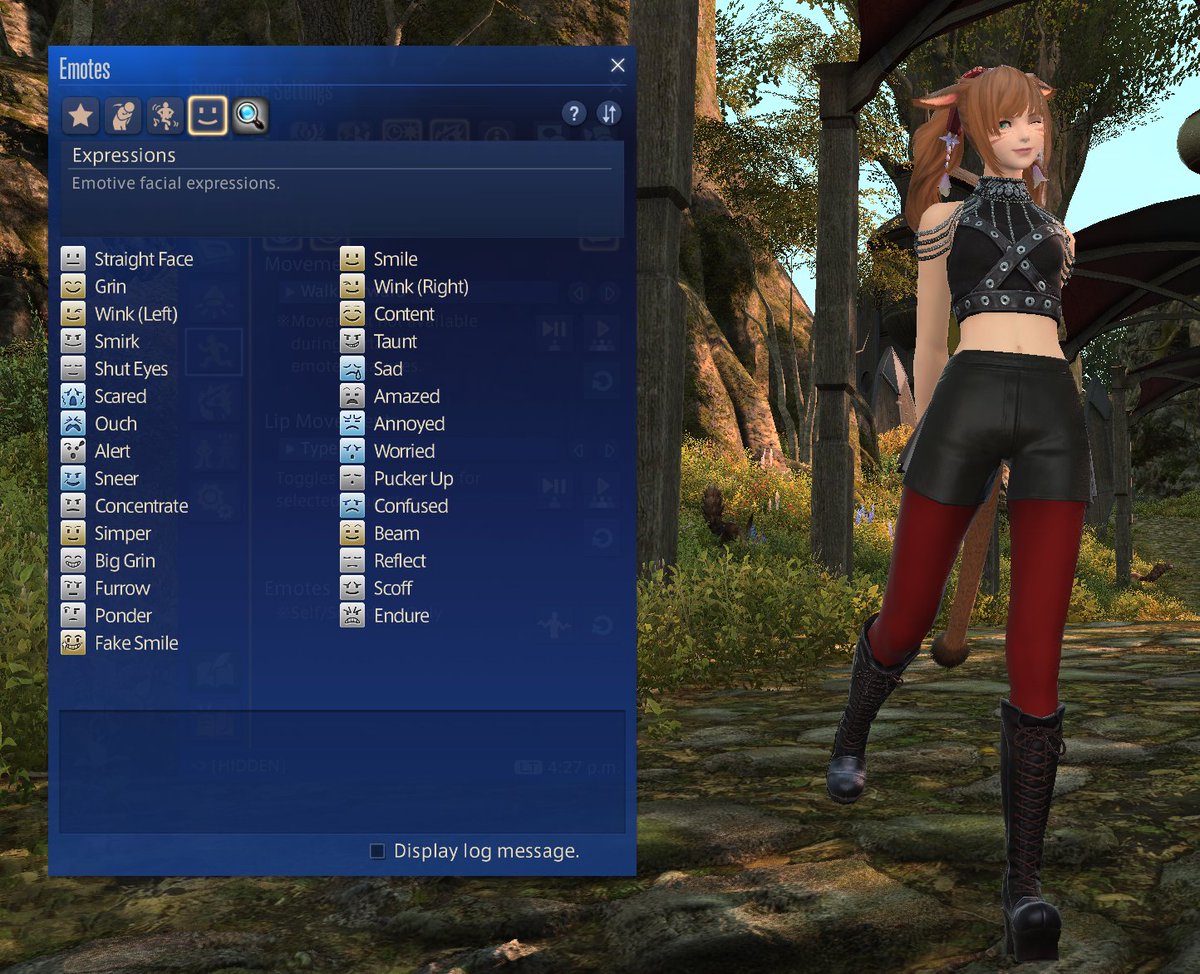
The next few steps can be done out of order as long as it pleases you in the end! I'm going to start with a pose. Open up the Gpose Window (Autorun key by default) and go to poses then Emotes, I also like to disable the Look at camera function to get as neutral as possible.

You can mix and match poses with expressions by default so experiment! I'm going for the Sulk+Wink Left combo, because I want Tanzia to look all cute and shy on this one.
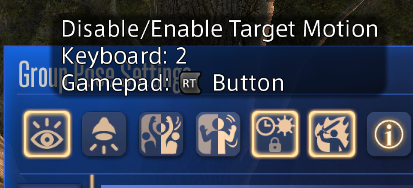
By default you can only pause the world and your character or selected character, but let me give you a pro tip! you can alternate between the two in quick succesion by default I think it's 1 and 2 on Keyboard (RT/LT L2/R2 controller), that way you get frame by frame movement
Now I'm going to frame Tanzia for a portrait with the help of a new tool SE added not long ago, Portrait preview.

I'm gonna gor for a framing a bit angled to make my background frame Tanzia and since I'm too close to it I'm gonna pull the zoom in while pulling the camera distance away, this is like a real camera zooming telephoto on your lens while walking back away from subject.

Oh no! I forgot to turn the lights on! And I will lose my framing wrestled to get just right! That used to be the case in old gpose, nowadays we have this lovely tool, Save Settings for camera and ligthing
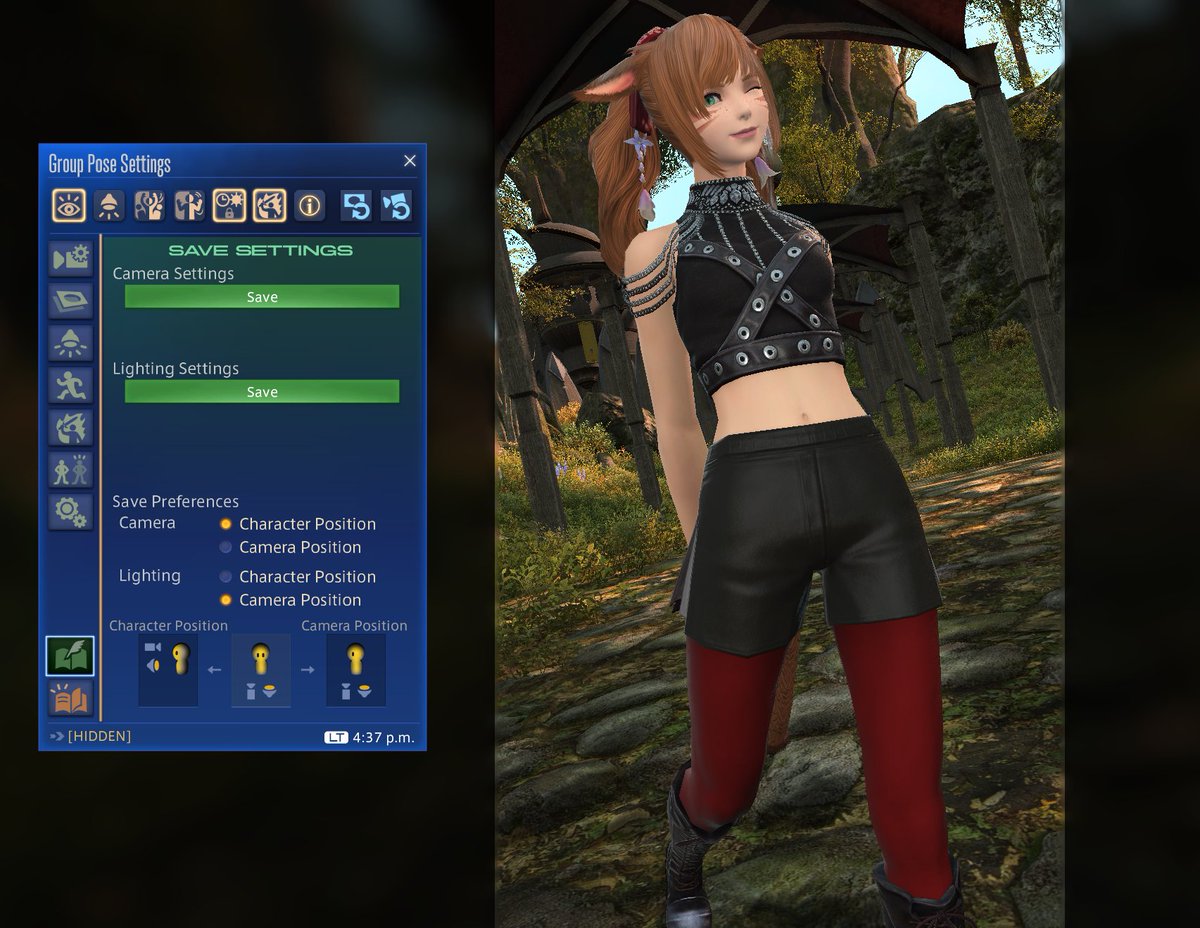
This is like a save state, you can just save it, move around and load it to go back into the pose you were before. Easy!


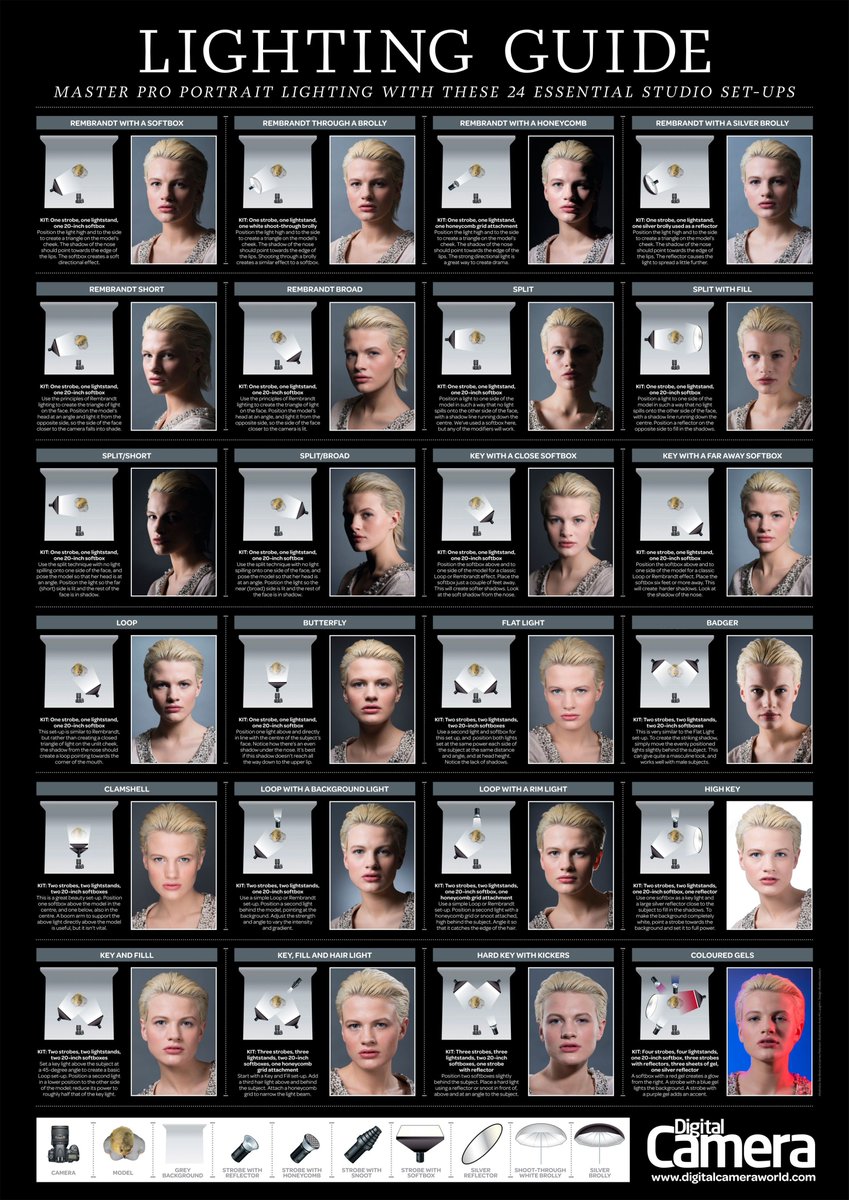
just like in photography for lighting you want to have different lighting for different situations and always take into account where the natural light comes from, there is no shame in grabbing a pencil and paper and draw the light direction.

This is a basic lighting guide, there are many more combinations, as long as you have a triangle of lights in mind you'll do great. For my example I'm gonna go with the Split with fill since I already have the sun on the side and back of Tanzia
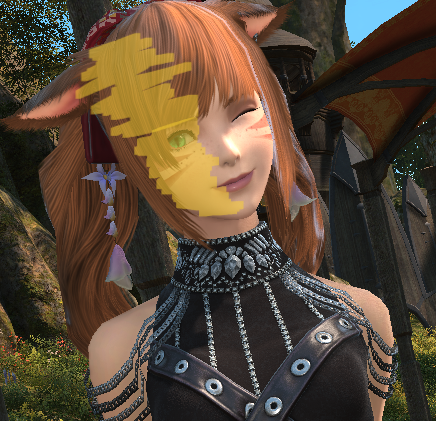
since this side of Tanzia's face is a bit darker but only a bit I don't want to over expose her face, so I'll use the lightest setting for the light and work from there
Ignore this button in general and get in close and personal with the light settings they are your best friend in gposing
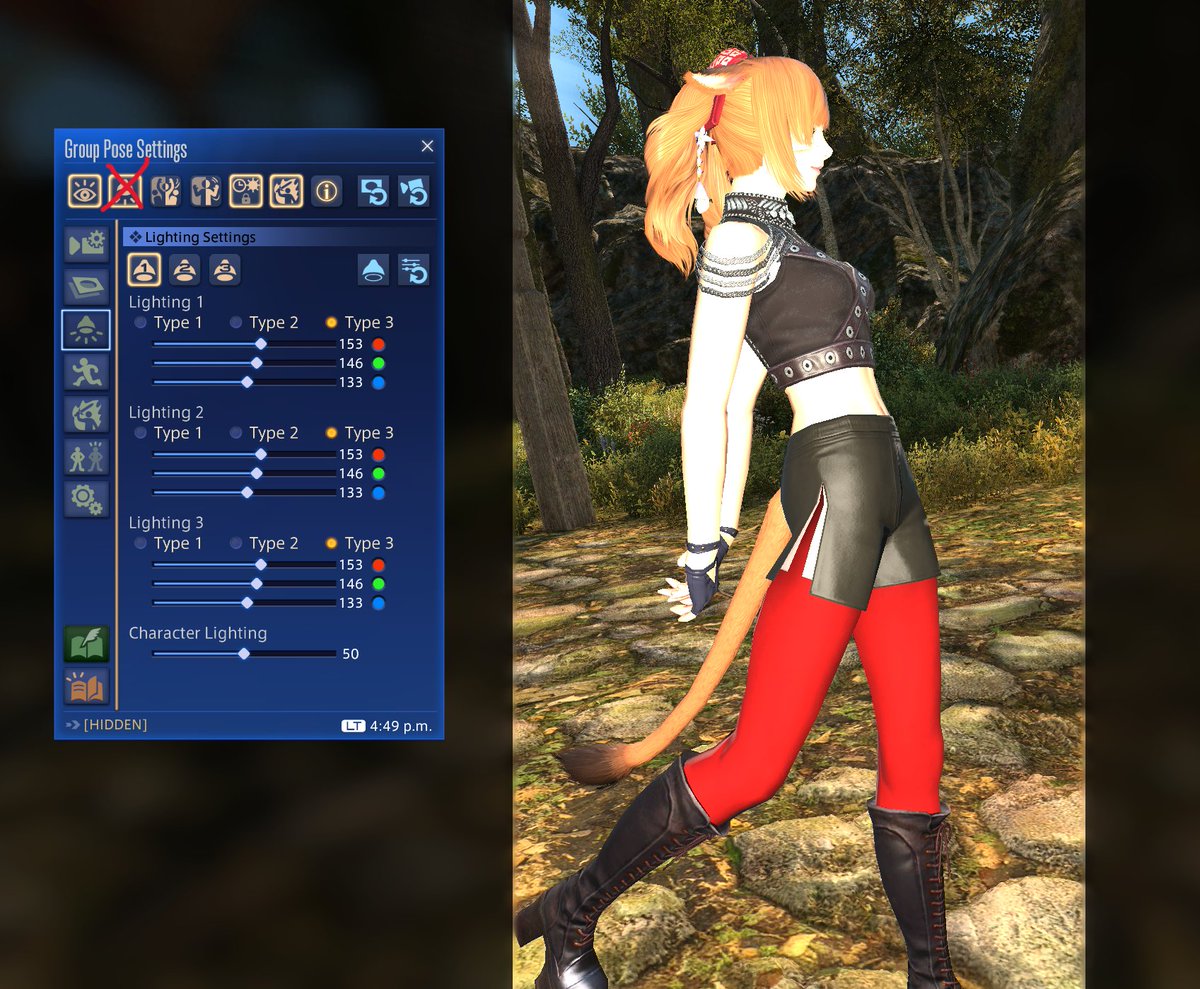
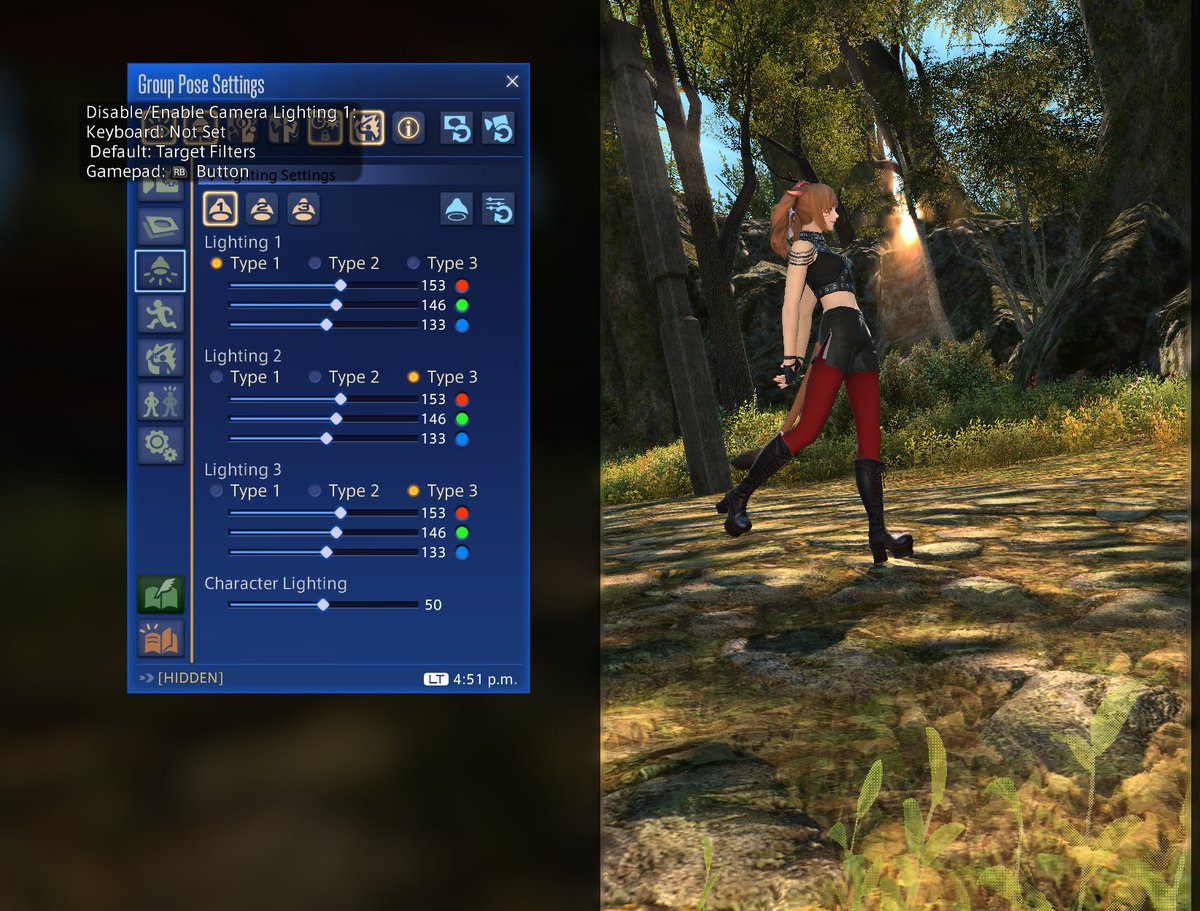
I'm going to use light 1 on setting Type 1 and pull my camera away since the light will spawn at my position, this way I can fill in Tanzia's face without making it look like an obvioius lamp, you can edit the colors out and reduce them to have a dimmer light too!
Tanzia's face is now properly lit, now what?

Well just like in photography anything that you want, I want this photo to look like a portrait so I'm gonna activate the newly added depth of field and manually focus on my target.

As a rule of thumb lower aperture (f) more light gets in, more blurry whatever is out of your current focus Lower number (more open diaphragm) is better for portraits, while larger number (less open) is better for vistas and panoramas. Not strictly though.

While taking your pics you might find some cheeky intruders, while sometimes it ads to the photo I would like to mention that there is a set of toggles to turn npcs, people etc. off and it has predetermined profiles like "Self Only"

Finally if you are taking a pic on portrait preview, make sure to hit the Portrait mode where it makes your camera sideways and take the picture for more photo area, this allows you to have a bigger picture pixelwise

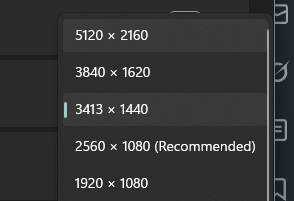
Finally if you want even better quality at the cost of a bigger file size, take the screenshot in 4k, if you don't have a 4k Monitor, go into your graphics card panel and activate the virtual resolutions, different methods for Nvidia and AMD
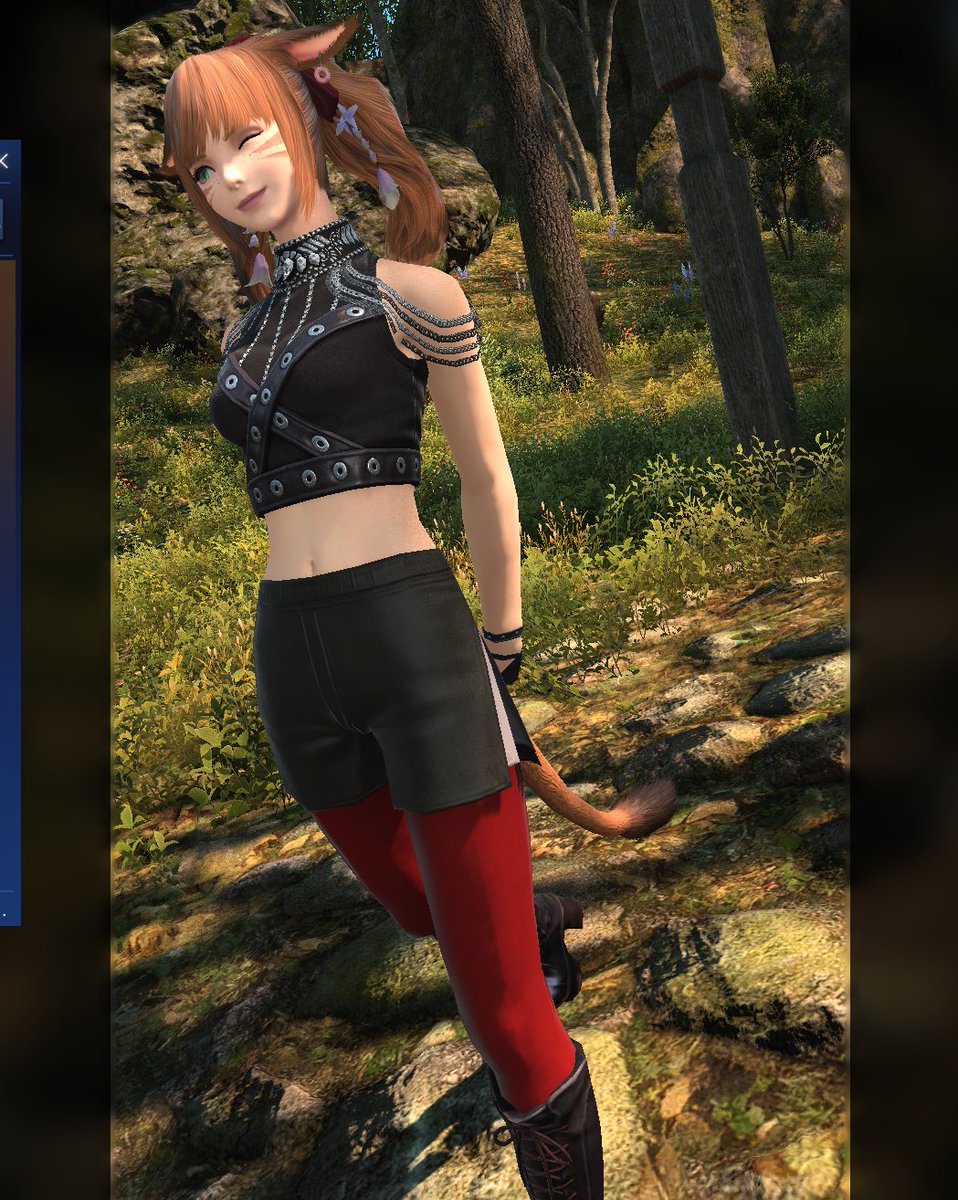
To finish up I added a couple of extra touches, a subtle vignette and used a gpose filter at low strenght. I'll do a simple flip and crop on windows to keep it simple. And we are done! I'll post the pic on a separate post so you can see the final result!

@Tanzia_PLD ahhh Tanzia this is so good and helpful!!
@NorvBee Thank youu! Glad it helped!
@Tanzia_PLD Coming from PS. This is a very good guide tho I don't use the light in very bright areas I like using the games natural lighting in various areas. I should goose more I think my character is pretty photogenic. What do u think?

@retroXninja91 Definitely agree that you should Gpose more, it's really fun!
@Tanzia_PLD Is that Iuno outfit in the first pic?
@NotUrWalfu Yes! I was cosplaying her right before this
@Tanzia_PLD Yoshi p made a post about doing exactly this.
@JKaidus Oh nice! As long as it helps people getting into the journey I'm happy
@Tanzia_PLD Just came out of retirement for ffxiv and this helped alot! Thank you.
@FoolOfTheMoon Yay! I'm looking forward to you guys poses!
@Tanzia_PLD 🤍🤍🤍🤍🤍 you're the best. Taking all this time for us
@LanaMiqo I just hope it helps someone